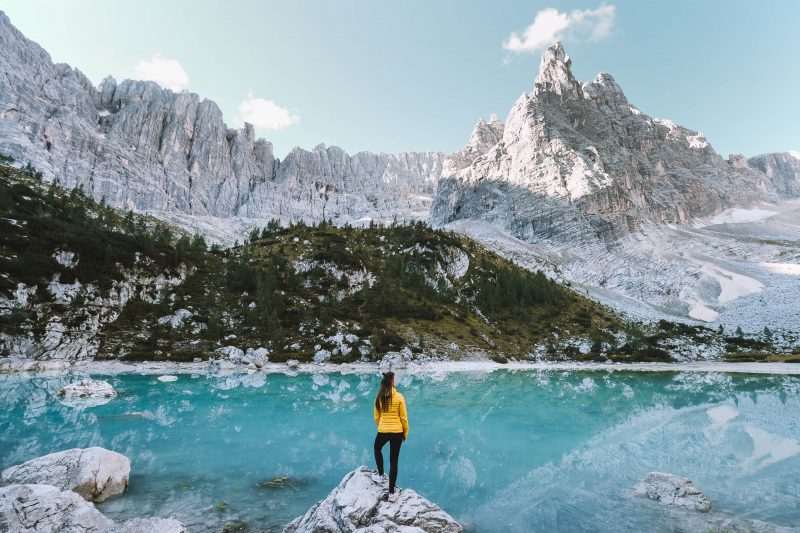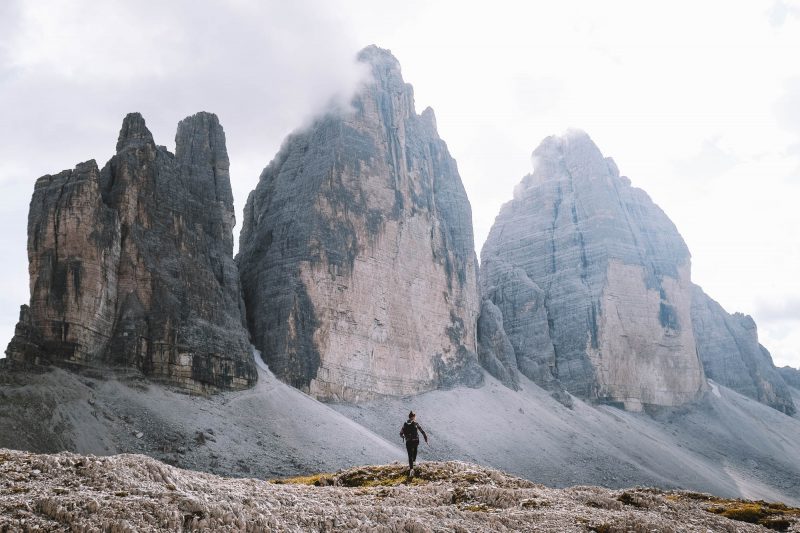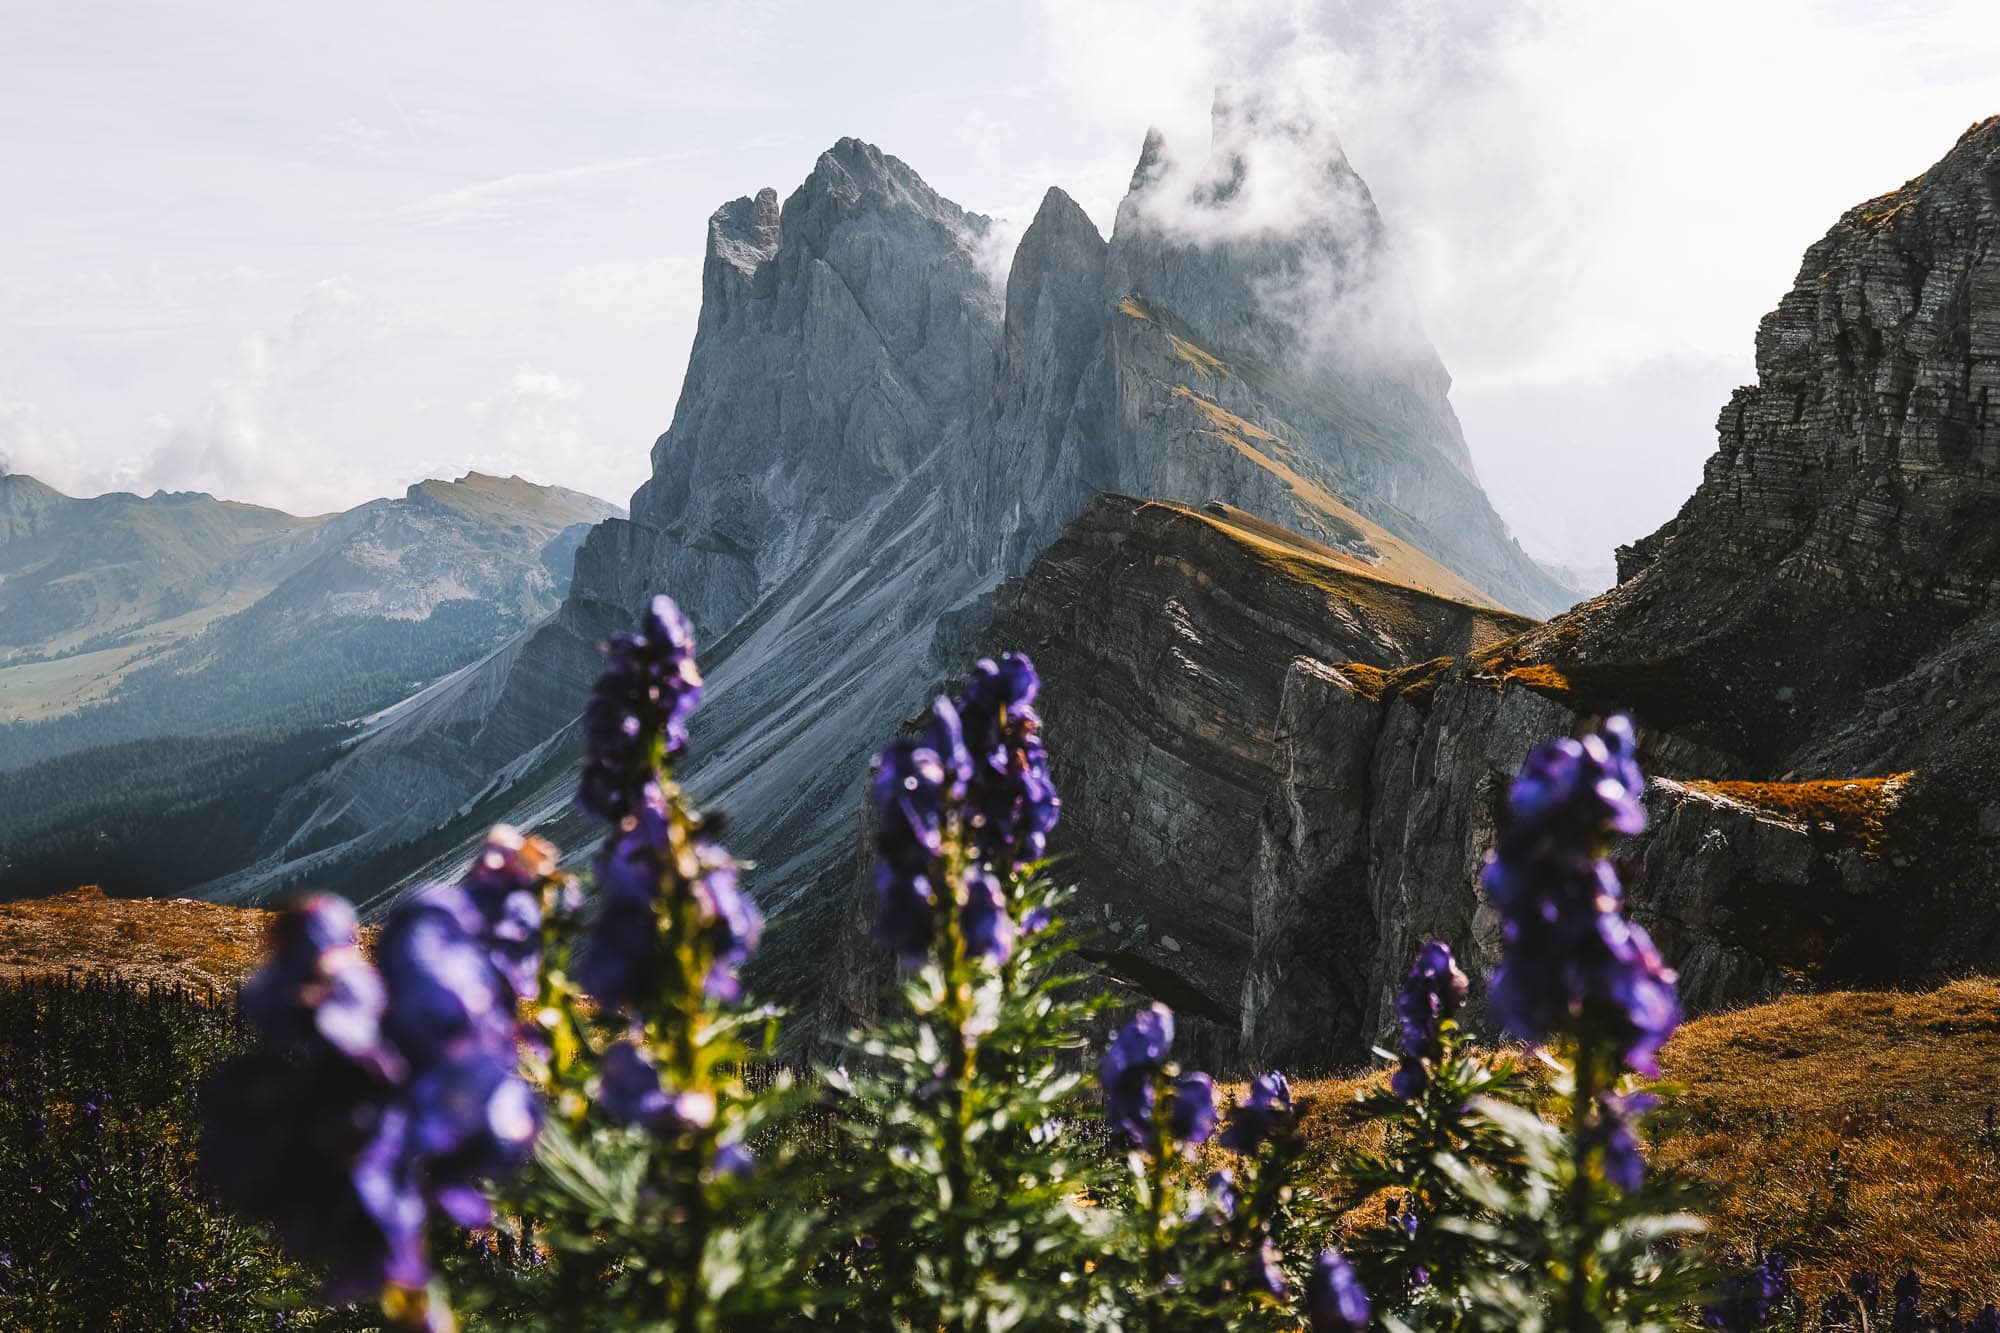
The Dolomites offer breathtaking landscapes for hiking, and one particularly remarkable area is the Puez-Geisler Nature Park, also known as Seceda. The peaks of Seceda soar straight into the sky, reaching a height of 2,518 meters (8261 feet). Located in the heart of Val Gardena, one of the most beautiful ski resorts in Europe, Seceda transforms into a paradise for hikers during the summer season. In this article, we’ll share our tips on how to reach Seceda and embark on an exciting hike through Puez-Geisler Nature Park.


How to Reach Seceda?
You can reach Seceda either by cable car or on foot.
By Cable Car
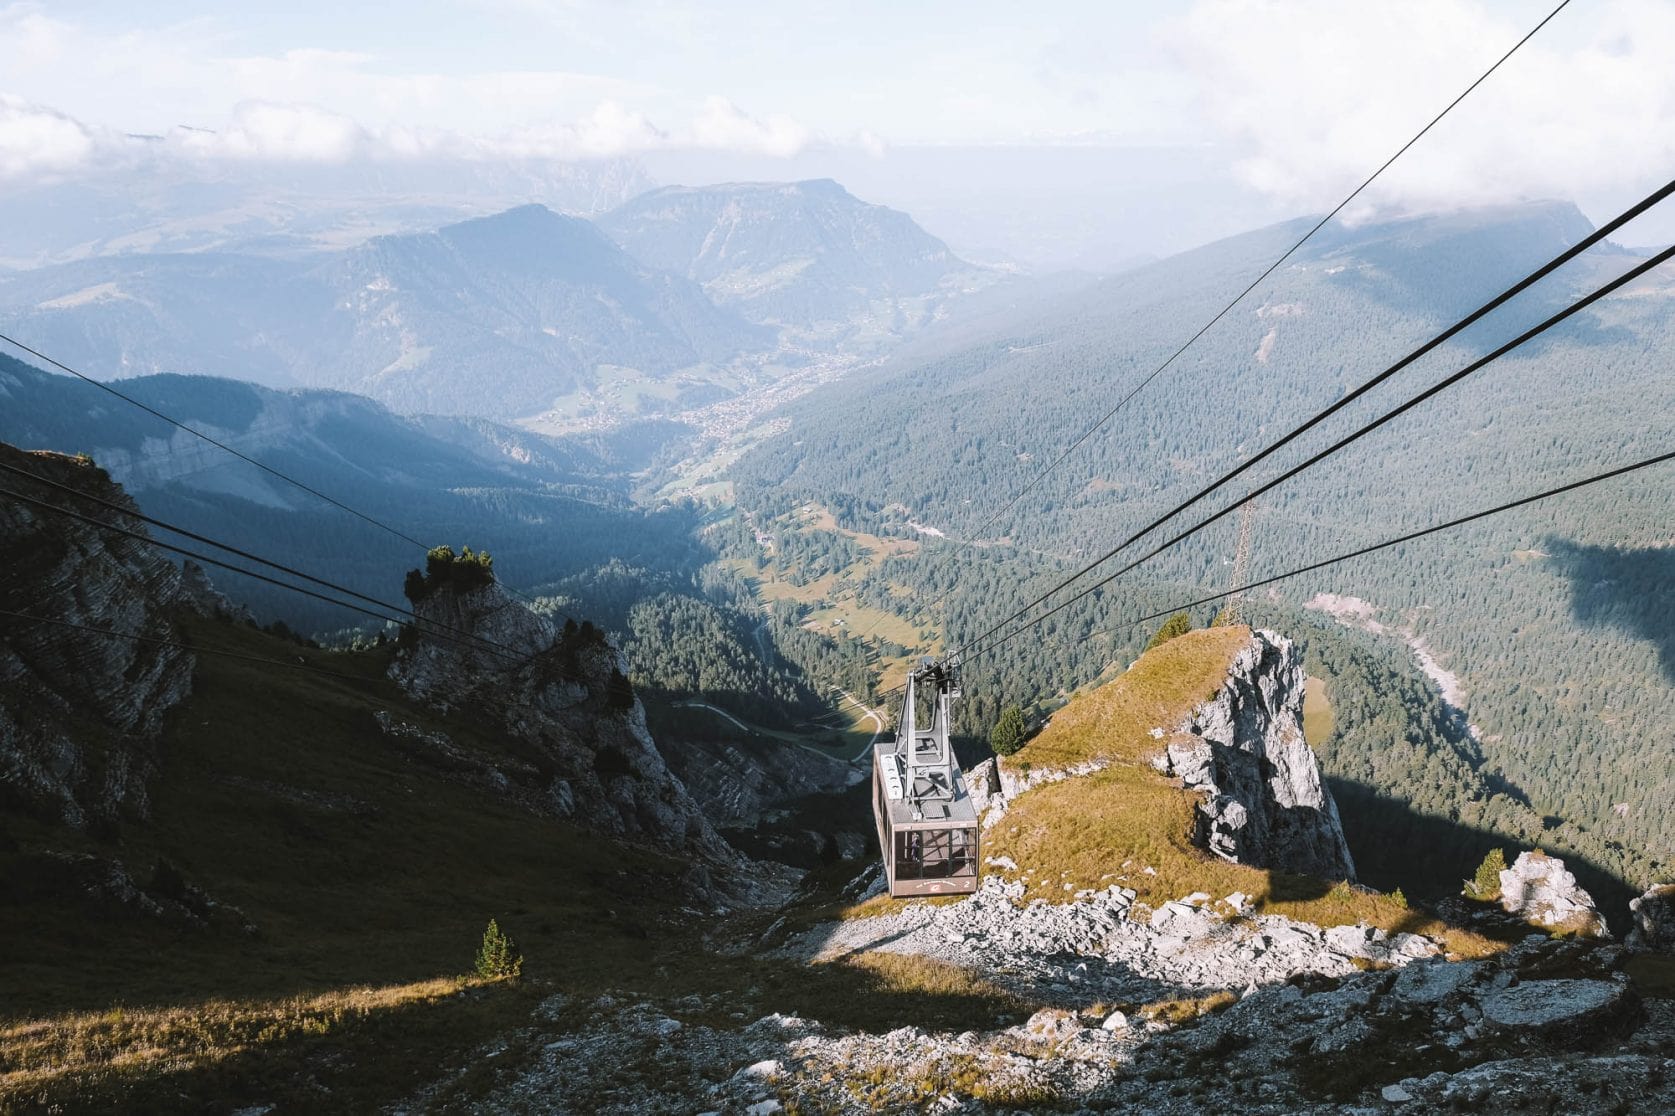
By far the easiest way to reach Seceda is by taking the cable car. Start at Ortisei and take the cable car to Furnes. From there, transfer to the cable car that goes to Seceda. There is a paid parking lot at the cable car station in Ortisei. A round trip ticket costs $39 for adults, which is quite expensive, but considering the relatively long ride, it’s understandable. Admission is free for children up to 7 years old and $20 for children between 8 and 15 years old. The cable car operates in the summer from May 29th to October 10th, between 8:30 AM and 5:30 PM. In winter, Seceda becomes a popular ski slope, and the cable car operates from December 4th to April 10th.

Hiking to Seceda
If you want to witness the sunrise at Seceda or save $39 per person, hiking is also an option. However, be prepared for a challenging climb of 6 kilometers (3.7 mile) and an elevation gain of 950 meters (3116 feet). It takes approximately 3.5 hours for a one-way hike. If you have the choice, we recommend taking the cable car, as Seceda itself offers fantastic hiking opportunities, and taking the cable car allows you to preserve your energy for exploring the area. If you still decide to hike up, you can park your car at Col Raiser and start the hike from there. Follow routes 1, 1a, and 2, and consult the map in Maps.me if you’re unsure.

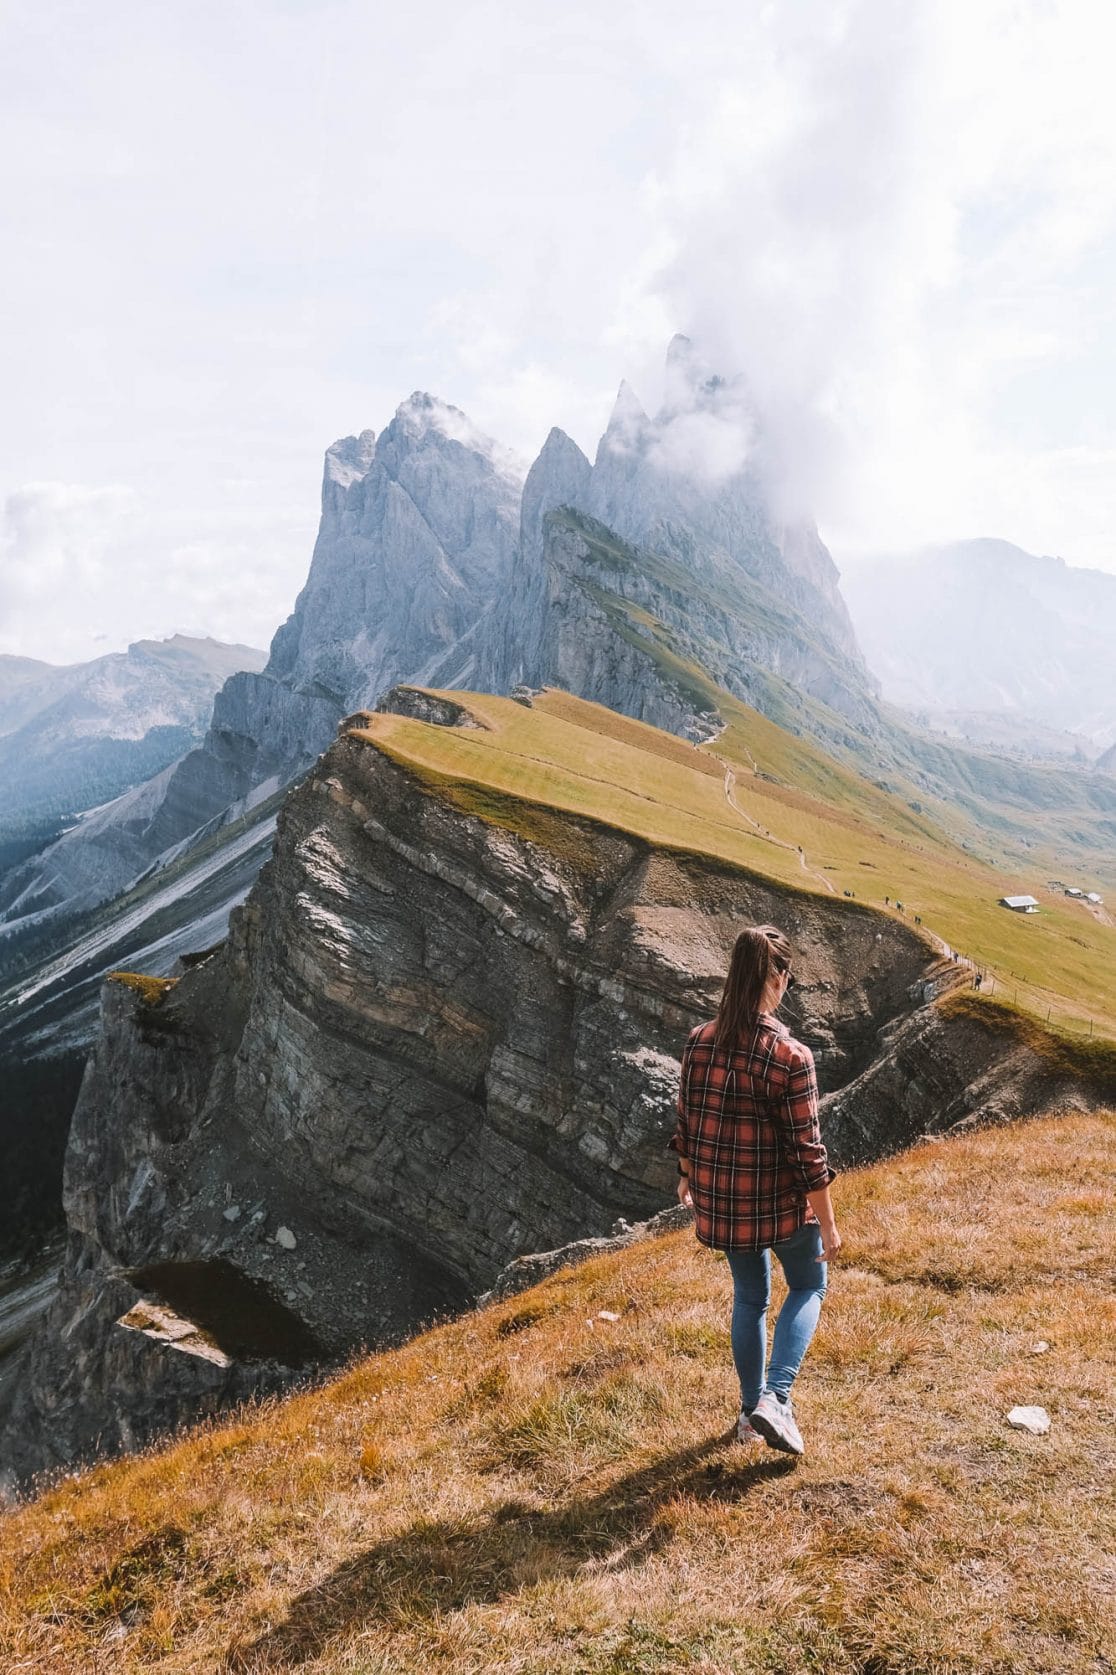

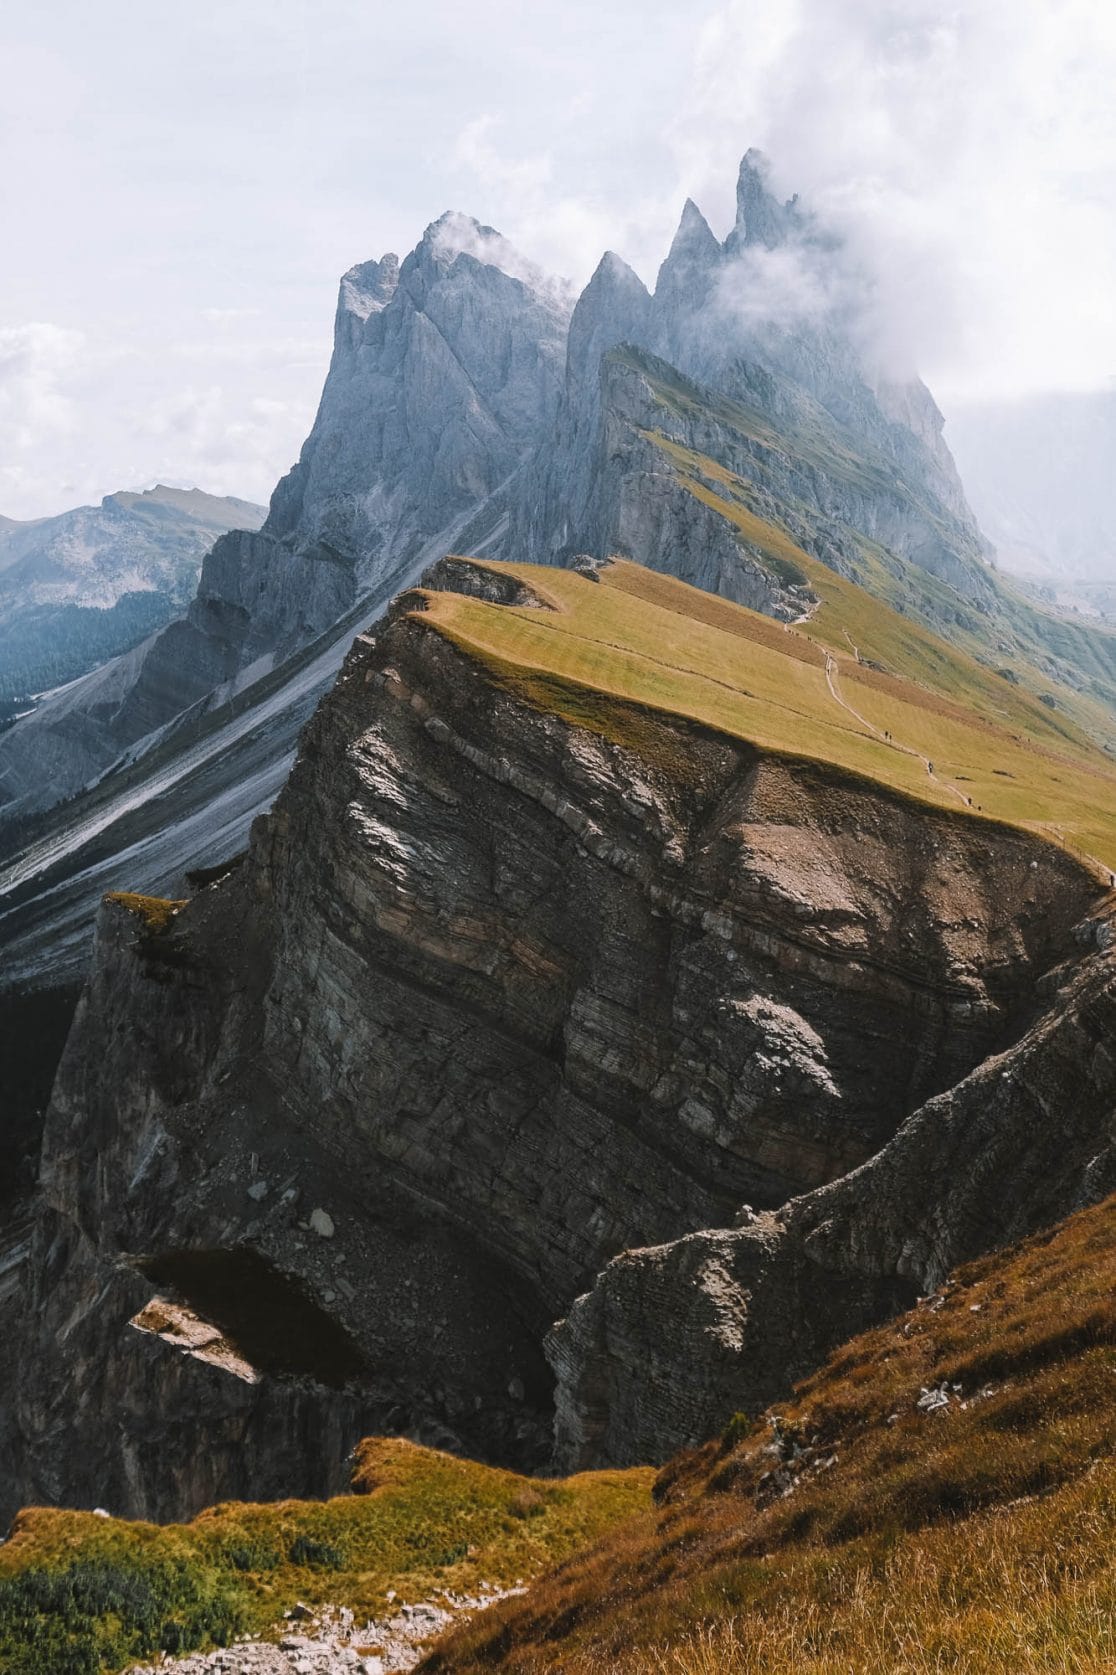
Seceda Viewpoint
Once you exit the cable car, it’s only a few minutes’ walk to the spectacular viewpoint at Seceda. From here, you have a perfect view of the immense rift in the earth’s crust and the steep peaks of Seceda. There are more beautiful viewpoints further on, but this one is by far the best spot for capturing beautiful photos. Here is the exact location of the viewpoint.


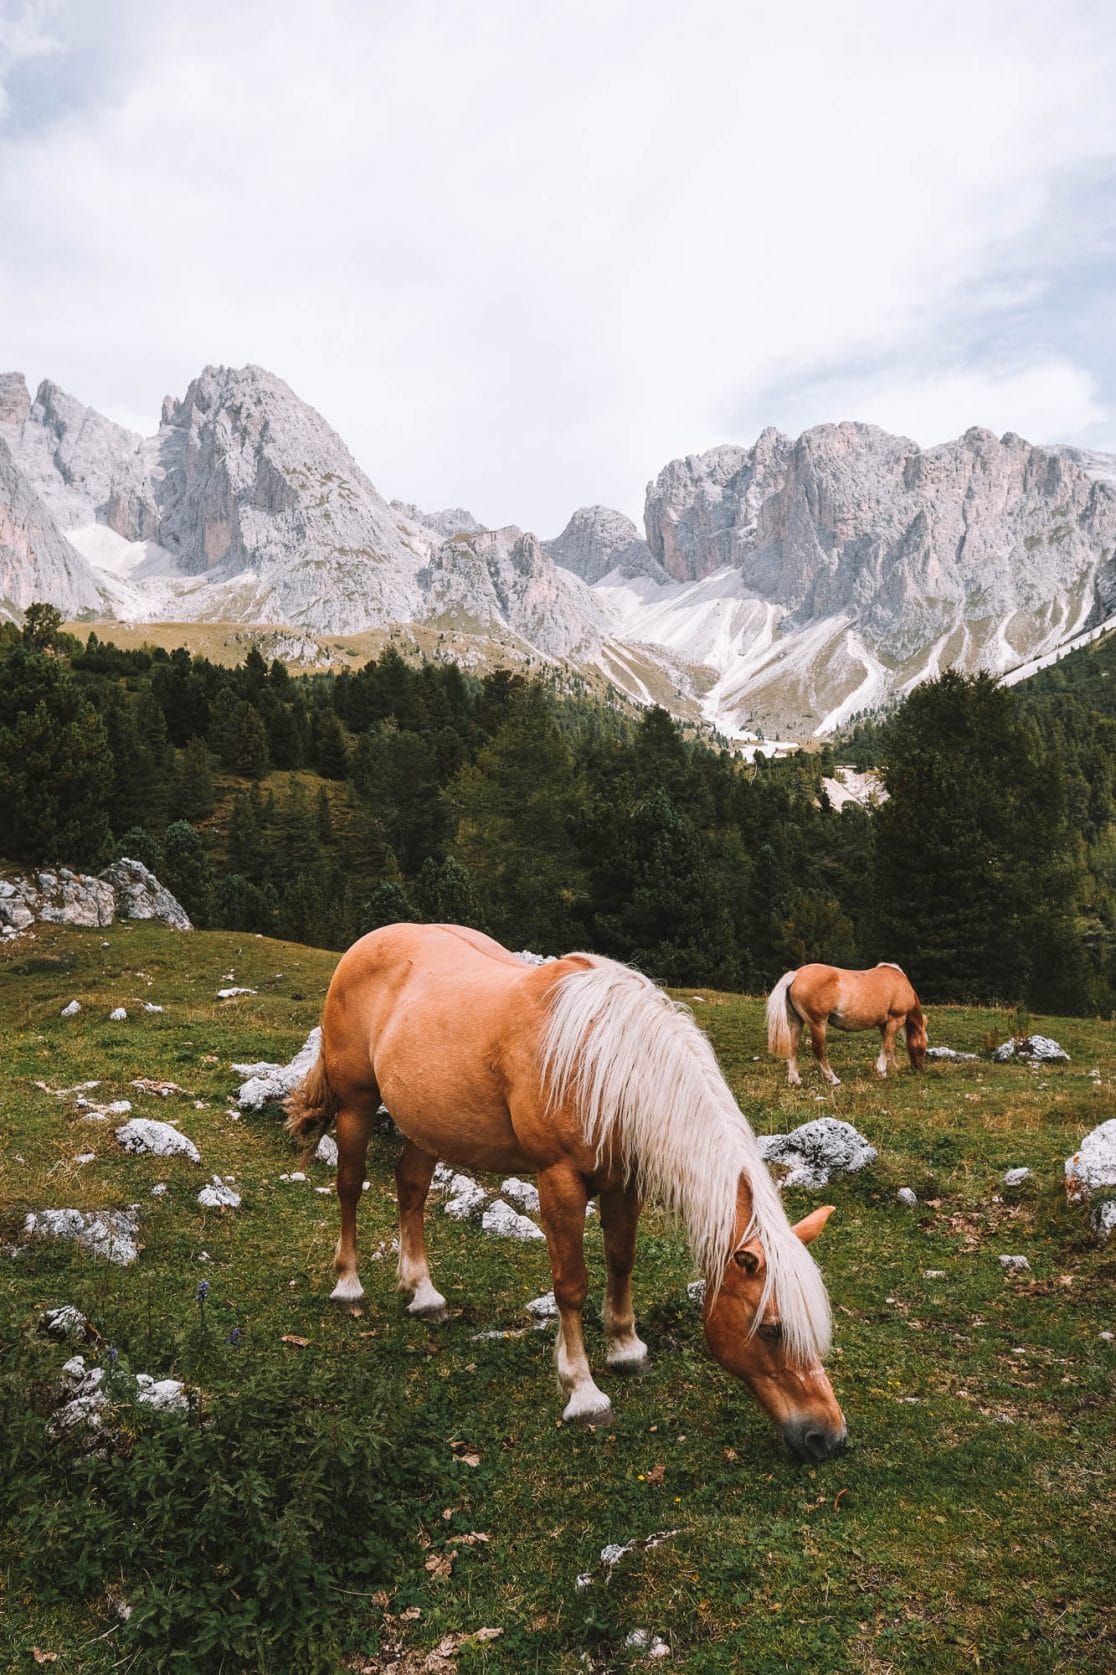
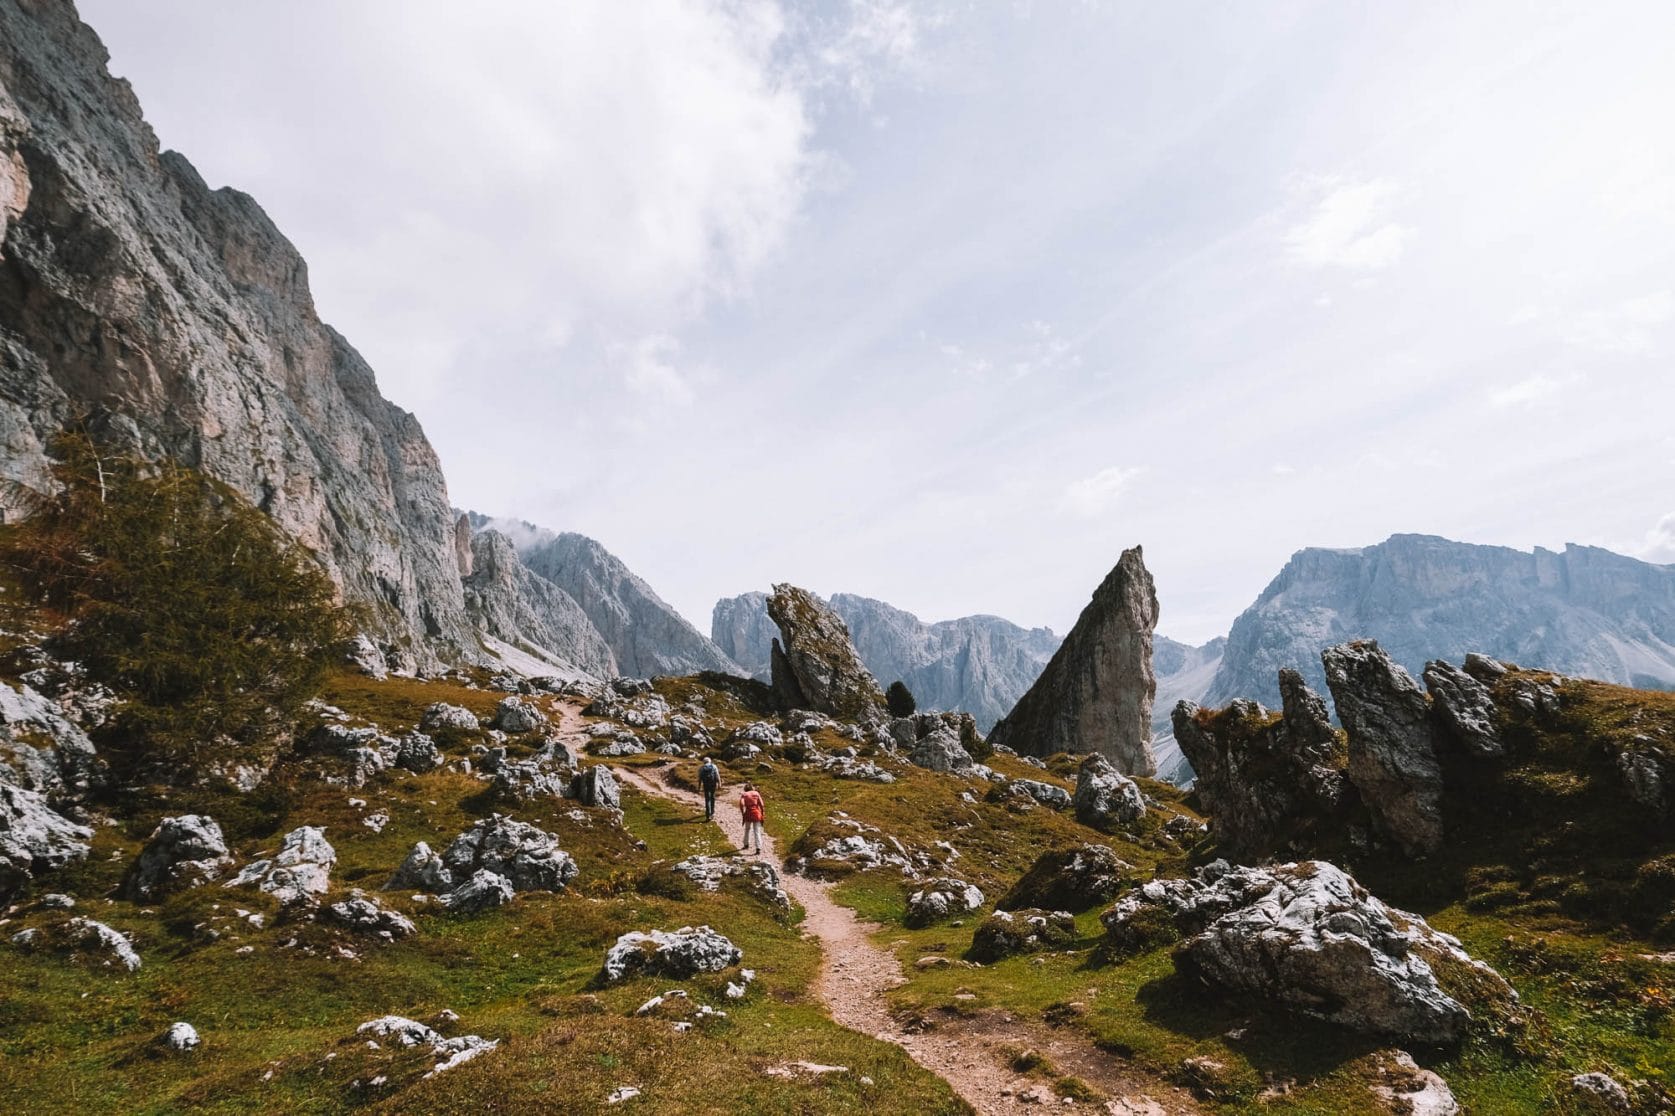
Hiking at Seceda
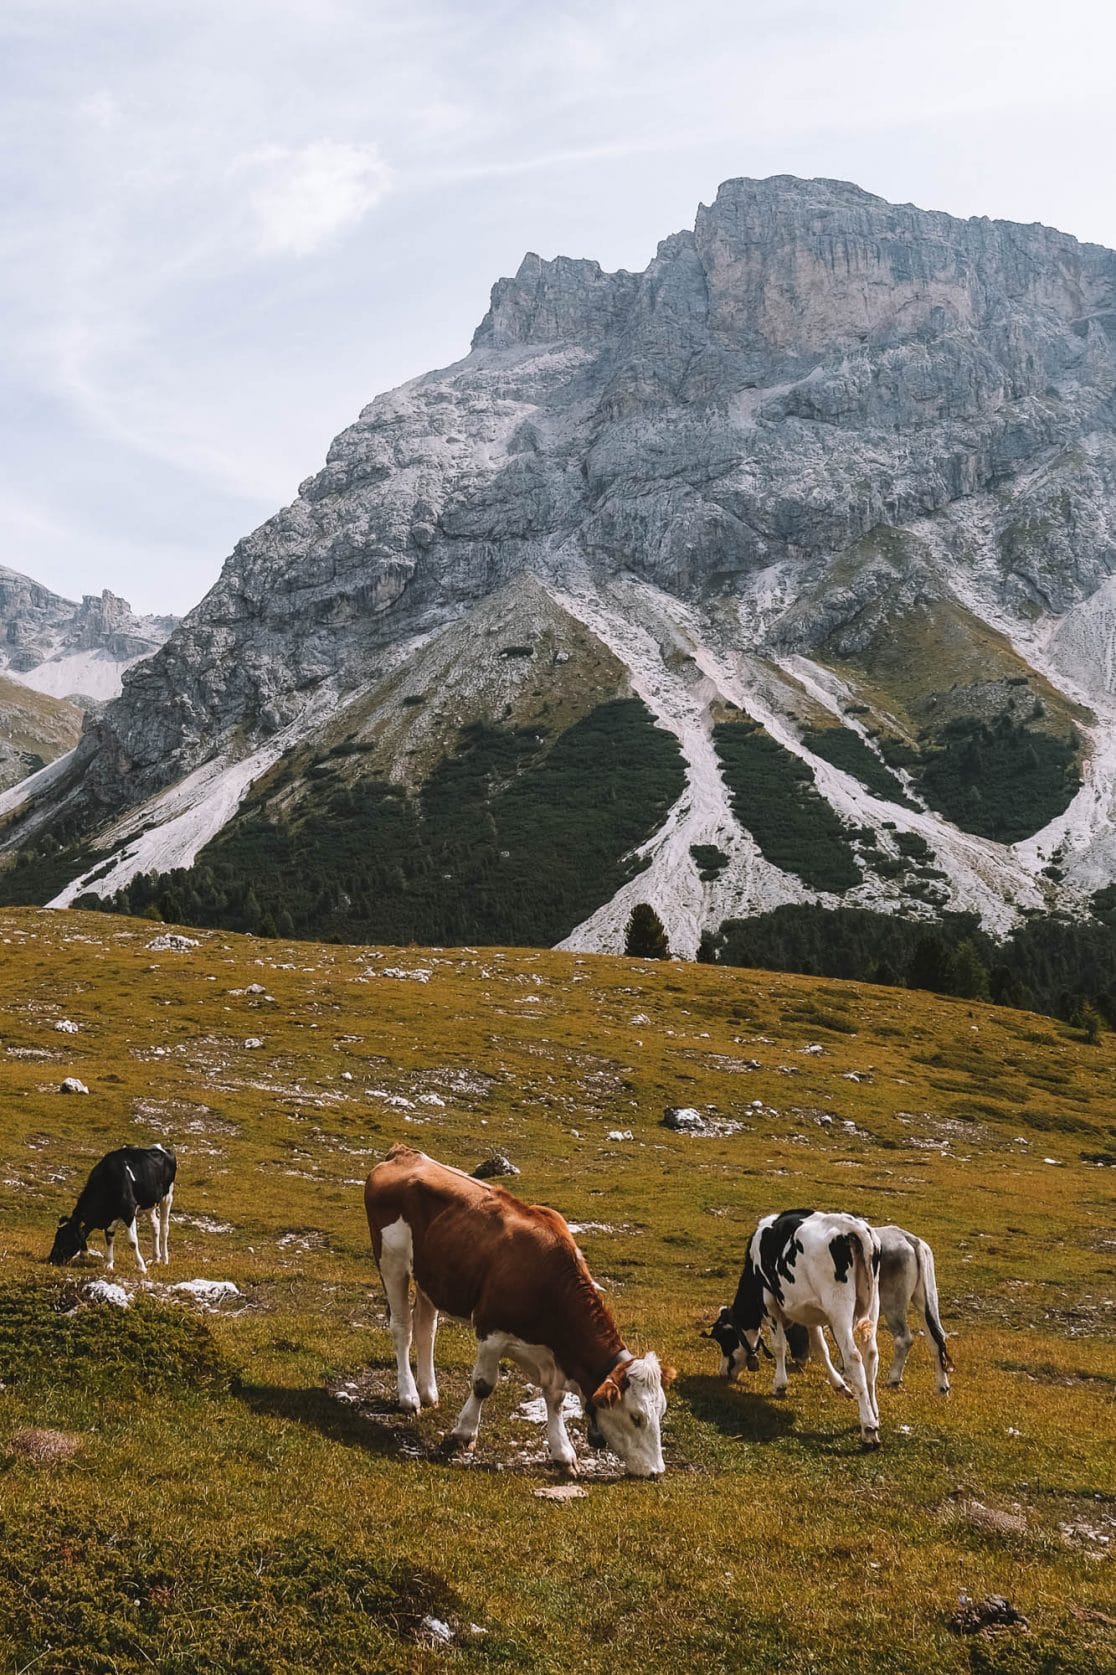
After enjoying the view at the viewpoint, it’s highly recommended to explore the surrounding area of Seceda. You’ll find expansive meadows with scattered mountain huts and cows grazing peacefully, adorned with large bells around their necks. There are numerous routes to choose from, but we’ve put together an exciting hiking route that takes around 3.5 hours, covering the most beautiful spots in the Seceda area. Along the way, you’ll pass the viewpoint, the edge of Seceda, and the picturesque green meadows in the lower region. Don’t miss the opportunity to stop at one of the charming mountain huts for a delightful meal or refreshing drink amidst breathtaking scenery.


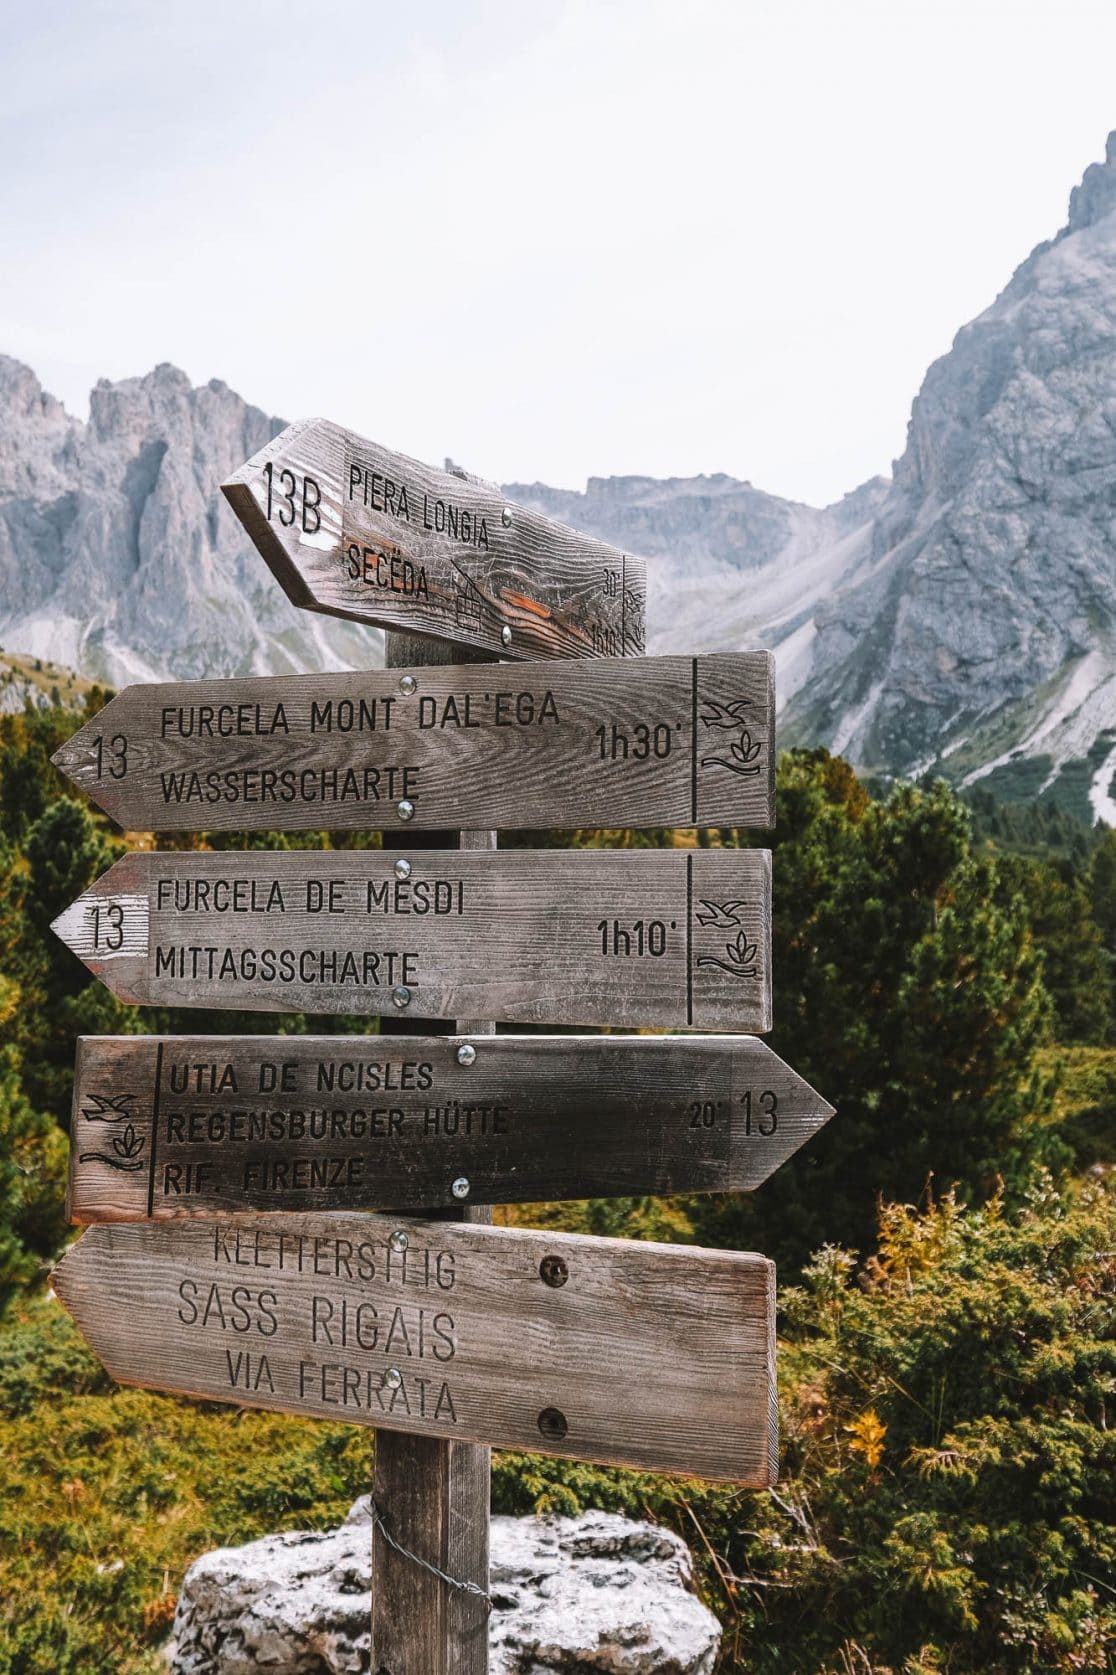
Route Description of the Hike at Seceda
Unfortunately, the hiking trails are poorly marked in Google Maps, so it’s better to use the maps.me app when navigating at Seceda. We can’t share the complete route in the app, but we have provided a written description below with screenshots of each section of the route. It might sound a bit complicated when reading it, but trust us, it’s easy to follow once you’re there. Make sure to save our screenshots and download the map in maps.me, and you’ll be good to go.
Duration: 3.5 hours
Distance: 9.5 kilometers (59 miles)
- When you exit the cable car, walk to the left and up towards the Seceda viewpoint. See screenshot.
- From here, you’ll see the path along the edge (Route 6), which you’ll follow until you reach a set of stairs descending on your right side. Be careful not to confuse it with the stairs on the left side! See screenshot.
- Take the stairs down, follow the path downward, and then turn left to join Route 1. See screenshot.
- After about 300 meters (984 feet), you’ll reach a sort of Y-junction. Take the left turn and follow Route 2B towards Malga Pieralongia mountain hut. The hut is not marked on the map but is hard to miss. See screenshot.
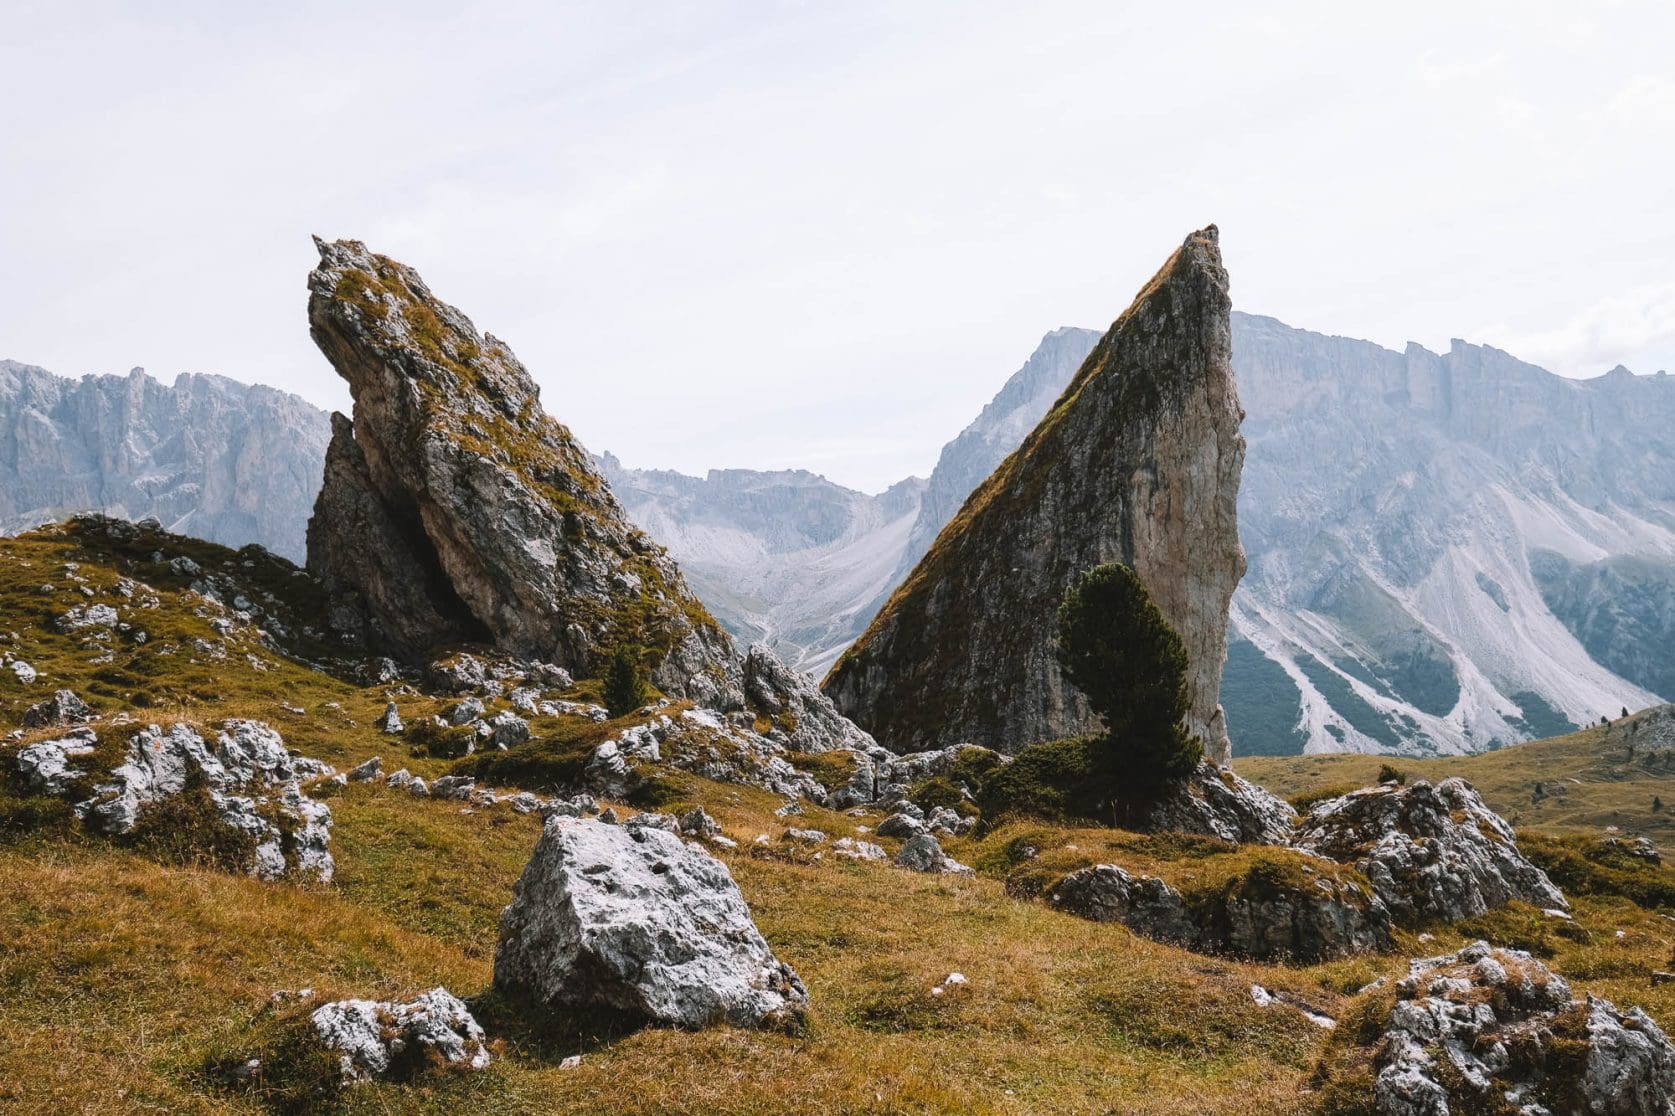
- At Malga Pieralongia, follow path 2B on the left side, passing through the gate. You’ll now walk along the massive rock wall and pass by the “Lion King Rock.” See screenshot.
- About 750 meters (2460 feet) further, you’ll reach a junction where you need to turn right and switch to Route 13B. Continue following this path for 1.6 km until you reach Rifugio Firenze. The hut is not marked on the map but is also hard to miss. See screenshot.
- From Rifugio Firenze, begin the ascent back up via Route 1. See screenshot.